To start this project I had to come brain storm to come up with my animation idea.


My final idea was a Marionette puppet Spanish soap opera recreation of the ‘I am your father’ scene from Star Wars. I chose this idea for the same reason Pixar created Toy Story, because toys are much easier to animate and render than humans.
Once I had my idea down I had to go about creating concepts for my character and scene, as well as a storyboard. I designed my character with 3D in mind, considering basic shapes and how I would model him.


I also designed a second character made of the same pieces as the main character to save time. Then I made turnarounds of each character so that I could put them into Maya as modeling reference.

With the turnaround imported into the front and side views of Maya I was able to model over the image using x-ray view. I built the characters out of the basic shapes I mentioned earlier.


I had two attempts at modeling. The first worked well enough but the mesh was messy and didn’t smooth very well. The second time I planned how I would build the mesh more carefully and it came out much cleaner. I also made sure to keep the character low-poly so that I could smooth later and keep Maya running faster. Low-poly is also much easier to UV map than high-poly.


I modeled the body, head,and hair as single pieces rather than halves that I could mirror because stitching halves together can be messy and the pieces were relatively simple shapes that could be modeled using just world symmetry on my modeling tools. I did however model all of the limbs on only one side and mirrored them. I found that mirroring objects inverts normals on the mac version of Maya which meant that I had to flip the normals back and delete their history. As this was my second attempt at modeling I had already discovered that not deleting history can lead to some horrific crashes and glitches so I made sure to keep my project clean.

I made a sheet of colour concepts for my character and then picked my favorite so that I could paint my textures.

I had to UV-unwrap my objects so that I could texture them. I used multiple techniques such as plannar mapping, cylindrical mapping, and automatic mapping. Each has it’s own use for different types of objects. I did a lot of stitching to make the maps easy to paint on.
Next I painted/photoshopped my textures. I made some out of heavily edited pre-existing textures and painted other parts by hand.


When I went to un-smooth my meshes to start rigging I discovered that un-smoothing ruins the textures if they were created on a smoothed model, so I had to go back to some previous versions to retrieve unsmoothed meshes and fix some textures for low-poly.
Once I fixed the textures I started placing joints to build the skeleton. I didn’t plan the structure very much to start with and my first attempt didn’t work out very well. I also had a lot of crashes due to some history on certain meshes that I had left.


Once I’d figured out how joints and constraints worked by playing around, following Keat’s tutorials, and watching some Digital Tutors tutorials, I started my second attempt. I had a plan in my head for the structure and it worked well. My original idea was to keep the puppets fairly rigid with just toy-like joints but I decided to make some of the pieces flexible by adding more joints inside them to give a better performance.


I was careful to place joints in the centre of where I wanted parts to pivot by using snapping and I ordered my hierarchy as I’d been instructed along with consistent naming conventions. I managed to keep everything very clean and had no issues this time.


I made all of my controls using curves and constrained and parented them in the hierarchy. I also used set driven keys for the mouth and for the fingers so that I had a simple hand control and so that the mouth had limited movement. I used IK on the legs and arms with pole vectors on the knees and elbows so that I could control the limbs more naturally.

Next I made a fairly simple test animation to make sure I had all of the control over the rig that I wanted. It was very easy to animate with so I was happy with the rig.

I then repeated all of the texturing and rigging steps for the Grandma character and found that it went a lot faster than with the first character.
Next it was time to set up my scene. I had a sudden idea of how to change the scene so I did some new concepts for the stage and a new storyboard. The new concept was about a 1 minute long video rather than 10 or so seconds.


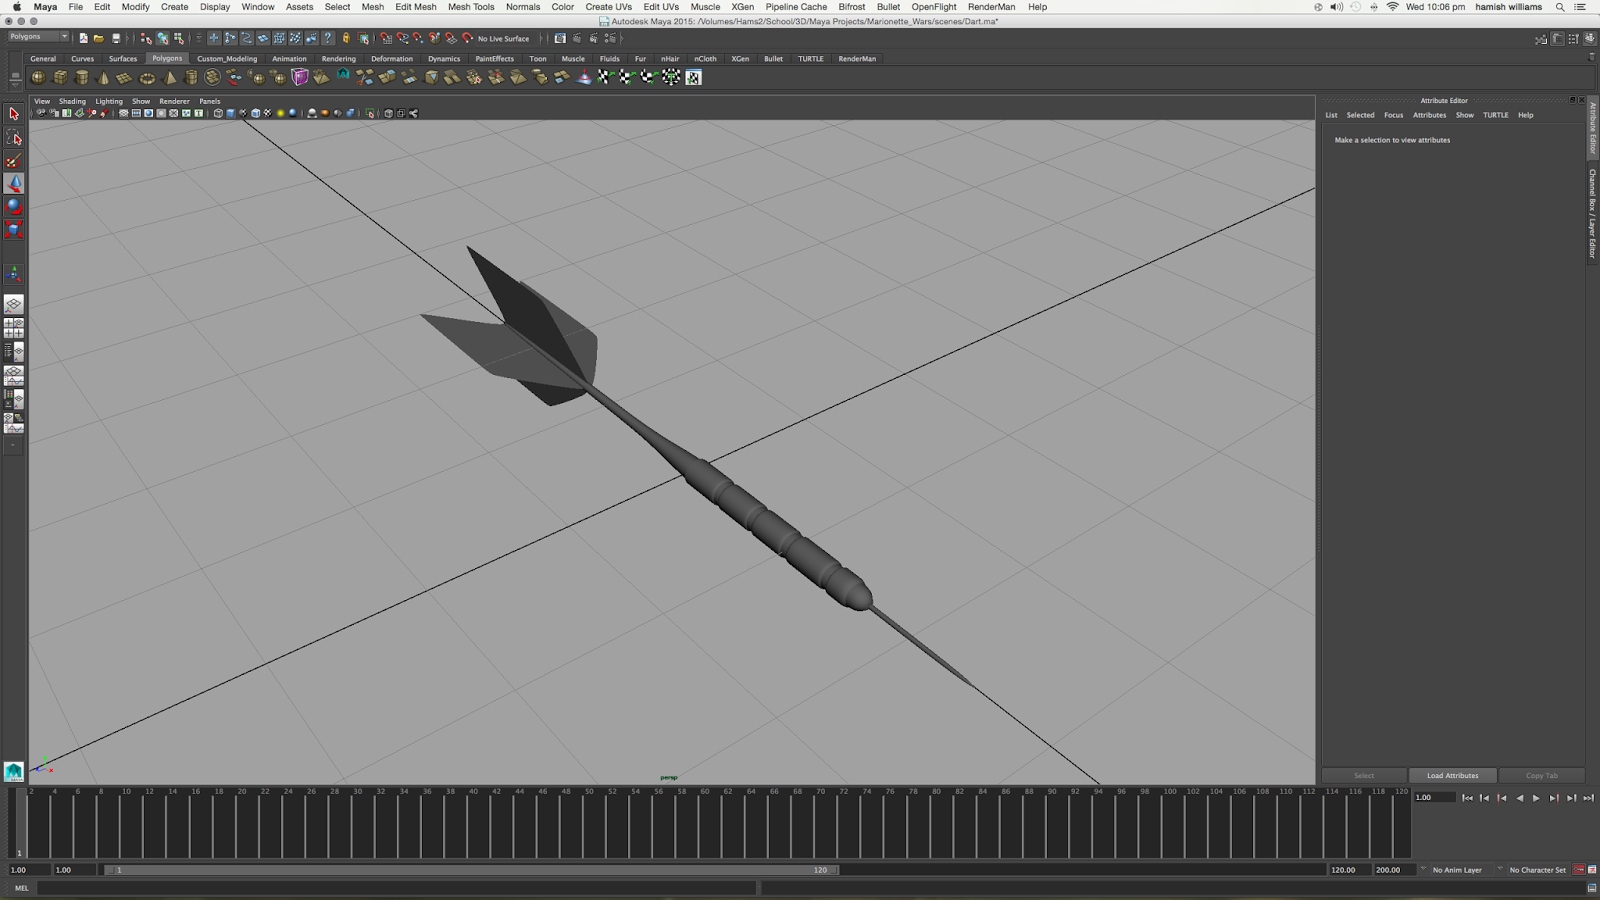
I started to model the room and desk, and I also modeled a bunch of objects to litter around like a bottle, candle stand, and some books.
I also had to UV-map and texture these objects, I also tried bump mapping, transparency maps, and specular maps, and played around with all kinds of material types and properties.


I started doing rendering tests with different rendering engines and settings. I settled on the MentalRay renderer and built a physical sun and sky in the render settings. I really liked the look of this render even though the render times were immense.


Once the scene was more or less built I started laying out my shots according to the new storyboard. I made 7 different cameras for the 7 shots in the plan and placed my characters into the scene. I rendered out single frames of the shots and put them together in After effects to get my initial timing.
I began to block out the major movements and figured out where the words would be placed. I recorded myself saying the lines I had planned and put together some simple music in Garageband. Then I imported the audio file into my Maya timeline so that I could match up the movement with the sound.
I roughed out all of the lip synching and started to clean up the character and camera animations. I did various playblasts along the way, mostly of single shots. In order to save on rendering time I usually had a shot rendering while I was working on another shot so I didn’t have a playblast of all of the shots to watch together until the final renders were mostly finished.


I found that the renders were taking even longer than I expected even though I was rendering on two computers so I had to render some of the shots using the Maya software render engine to save time. I optimized my scene for this renderer by changing some materials and adding more lights in an attempt to more closely match the look of the MentalRay renders.

I rendered my shots a jpeg-sequences and brought them into after effects to edit them together. I could have used Premiere to edit but I had a lot of effects I wanted to include so I chose AE. I did some color correction, mainly on the Maya Software renders to make them match the other shots. I also added some atmospheric lighting using solids, masks, and various built in effects.
Then I did a final colour grade using Magic Bullet and added chromatic-aberration to give an old VHS type feel. I added simple titles, credits and subtitles to the video and then it was finished.